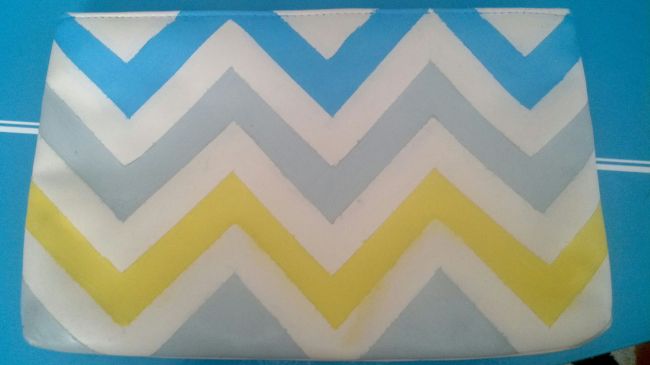
I love chevrons, as you may well know, and I also happen to love purses. Clutches are great when you only need a few items for the evening, so I decided to make this fun clutch in my favorite color combo: aqua, gray and yellow! Check out the before and after.
- White Clutch: $1.60 from a thrift store!
- FolkArt Acrylic Paints (Dove Gray, Lemon Custard and Coastal Blue): $6
- FolkArt Acrylic Textile Medium: $3
- FolkArt Artists Varnish Gloss: $5
- Foam Paint Brushes (4 Pack): $1
- Painter’s Tape: $5.29
Total Cost: $21.89
Supplies Already on Hand:
- Nail polish remover
- Cotton Balls
- Cotton Swabs
 Step 1: Clean the clutch. If you go the route I did and upcycle a thrift store clutch, chances are it will need a good cleaning. Soap and water would probably work just fine, but I started with some nail polish removed on cotton balls to really get those stains out. Then let it dry completely before beginning.
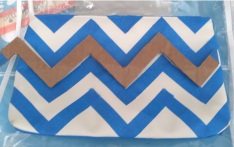
Step 2: Tape off your pattern. I chose this cute chevron pattern and made the stripes 1″ wide, the width of my tape and of my brushes. I found it easiest to make a pattern out of cardboard in order to get the lines even and straight. I used an old plastic bag that my bedding came in to protect my pretty painted surfboard inspired table!
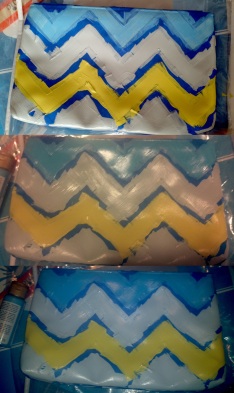
Step 3: Paint, paint, paint. It’s important to mix your acrylic with a fabric medium so that it will be flexible enough for the purse. The brand I used suggested a 2:1 ratio. After mixing, I painted on the layers with the foam brushes I got. I did 3 layers, waiting one hour in between each coat. Pretty simple and fun.
Step 4: Remove the tape. Take it slow and careful and make sure your paint is fully dry. I waited 24 hours before removing the tape. The paint still had a tacky feel to it and my lines didn’t come out perfect, so I took a cotton swab, dipped it in nail polish remover and cleaned up the lines. I also had to touch up one spot of paint.
Step 5: Varnish. The varnish helps protect it from physical damage and sun bleaching. It also gives it a glossy look and leaves no tackiness. It’s not perfect, but I’m pretty happy with the final product.
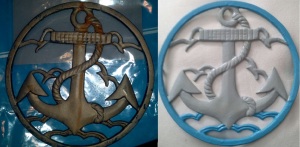
$21.89 might seem like a lot to start a project (for a cheapo like me anyways) however, there is a ton of paint left over for other projects. Like this trivet I painted that I thrifted for under $3.


